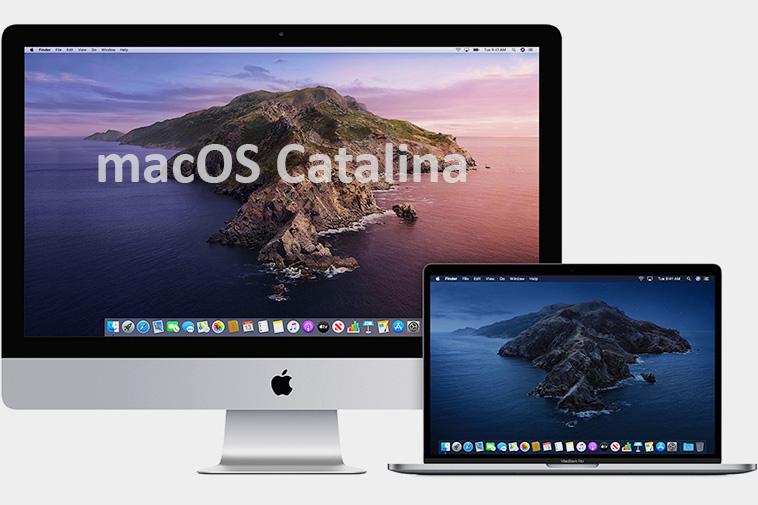
How to Still Run 32-Bit Software on 10.15 macOS Catalina

For years, Apple has been warning Mac users that with newer operating systems 32-bit apps won’t be supported. In macOS 10.15 Catalina, Apple has finally done it. While Catalina appears more like the same Mac operating system as the previous ones, it comes with lots of changes. Obviously, an operating system running 64-bit code such as 10.15 macOS is very effective than one that caters for both 64 and 32-bit codes.
As such, with the new development lots of people have realized they’re no longer able to run 32-bit software on Catalina anymore, which hasn’t been designed for such applications. Luckily, there’s a way you can still run your 32-bit applications on macOS 10.15 even if they appear to be incompatible.
Do you have any 32-bit software on your Mac?
Prior to updating into the new macOS Catalina, it’s important to ensure that you know the different 32-bit applications you need in your consistent Mac usage. Just go to the Apple icon towards the top left side, click “About this Mac” and select “System Report” and look for “Software/Applications”. All the apps will be listed though the process of collecting them together can take couple of minutes.
Do find the “64-bit” column to see all apps running 64-bit (displays a “Yes”) while all 32-bit software will depict a “No”. Do look at the list critically and see whether there are 32-bit applications required in your daily use of your machine. From there, you can decide to replace or update them with 64-bit apps or use the following steps to continue using them as they are.
If you haven’t upgraded to macOS 10.15 Catalina yet and still running macOS 10.14 Mojave, the process should be really easy.
- Step 1: Run Parallels Desktop on your Mac. Select “New” from the “File” menu to access the Installation Assistant window. Within “Free Systems” area go ahead and select to install the available macOS 10.14 version for your Mac through Recovery Partition method.
- Step 2: On the next Installation Assistant page do select “Install” for the macOS installer to run, which results in a fresh virtual machine. Once it’s complete, a display requesting you to select the language to use on the virtual machine should come up. Do select the language you want and click “Continue”.
- Step 3: Within the virtual machine the recovery environment for macOS should come up, which is the screen launched when Cmd-R is held down during boot up. Select “Reinstall macOS” from the “Utilities” menu and the next process will be requesting to start macOS 10.14 installation. Select “Continue” and “Accept” the license agreement and also click the tab for “Accept” in the dialogue menu that comes up.
- Step 4: The next step on display can look confusing but it isn’t; seeks to have macOS 10.14 installed on a “Macintosh HD” titled hard disk. Note that this isn’t the hard disk on your Mac but a virtual one created by “Parallels” within the virtual machine. Go ahead and select “Macintosh HD” and click “Continue”. Give the process of macOS 10.14 installation on the virtual hard disk a while to take place (you might need more than 30 minutes for this exercise).
- Step 5: Once done, the virtual machine’s macOS 10.14 Mojave installed will look similar to what your Mac usually shows when an operating system has been installed. With the completion of the installation a Mojave desktop should be created by default. Use the top menu of your Mac (not the virtual machine’s upper menu) to look for “Actions” and select to have “Parallels Tools” installed. With the prompts that follow immediately you should easily ensure “Parallels Tools” has been installed in the macOS 10.14 virtual machine. Do reboot the virtual machine right away once done.
- Step 6: Once you’ve restarted look for your 32-bit apps from the Mac (not virtual machine) and drag and drop them into the virtual macOS 10.14 system. Run the apps by double clicking on them and expect a few things. Firstly, if the operating system is 10.14 Mojave, pop-ups will come up right away indicating that 32-bit optimization for macOS hasn’t happened and updates are required. The caution should be ignored at this juncture.
- Step 7: The process of upgrading to macOS Catalina can now begin. Once you’ve upgraded into Catalina do launch “Parallels Desktop” and virtual macOS 10.14 machine. Run a 32-bit software and go to “Parallels” to select “Enter/View Coherence”. You will be able to see the 32-bit tool selected on a window of its own in your Mac. Virtual Mac’s upper menu will also be displayed under the upper menu of your main Mac.
- Step 8: Go to Parallels and look at the different preferences to fine tune the apps. “System Preferences” application in your virtual macOS 10.14 Mojave can be used to automatically start an app running 32-bit code with the launch of the virtual machine.
For those already running Catalina and cannot install macOS 10.14 Mojave in Parallels through the recovery partition in the Mac there is still a way out. Go to App Store on your Mac and install Mojave installer to use it for macOS 10.14 installation in Parallels. If you can’t find the installer for Mojave this Apple Apps Mojave link can help.
